

Integrate Supabase with Clerk
The first step is to create a new Clerk application from your Clerk Dashboard if you haven’t done so already. You can choose whichever authentication strategy and social login providers you prefer. For more information, check out our Set up your application guide.
After your Clerk application has been created, go to the Clerk Dashboard and navigate to the JWT Templates page. Click on the New template button to create a new template based on Supabase.
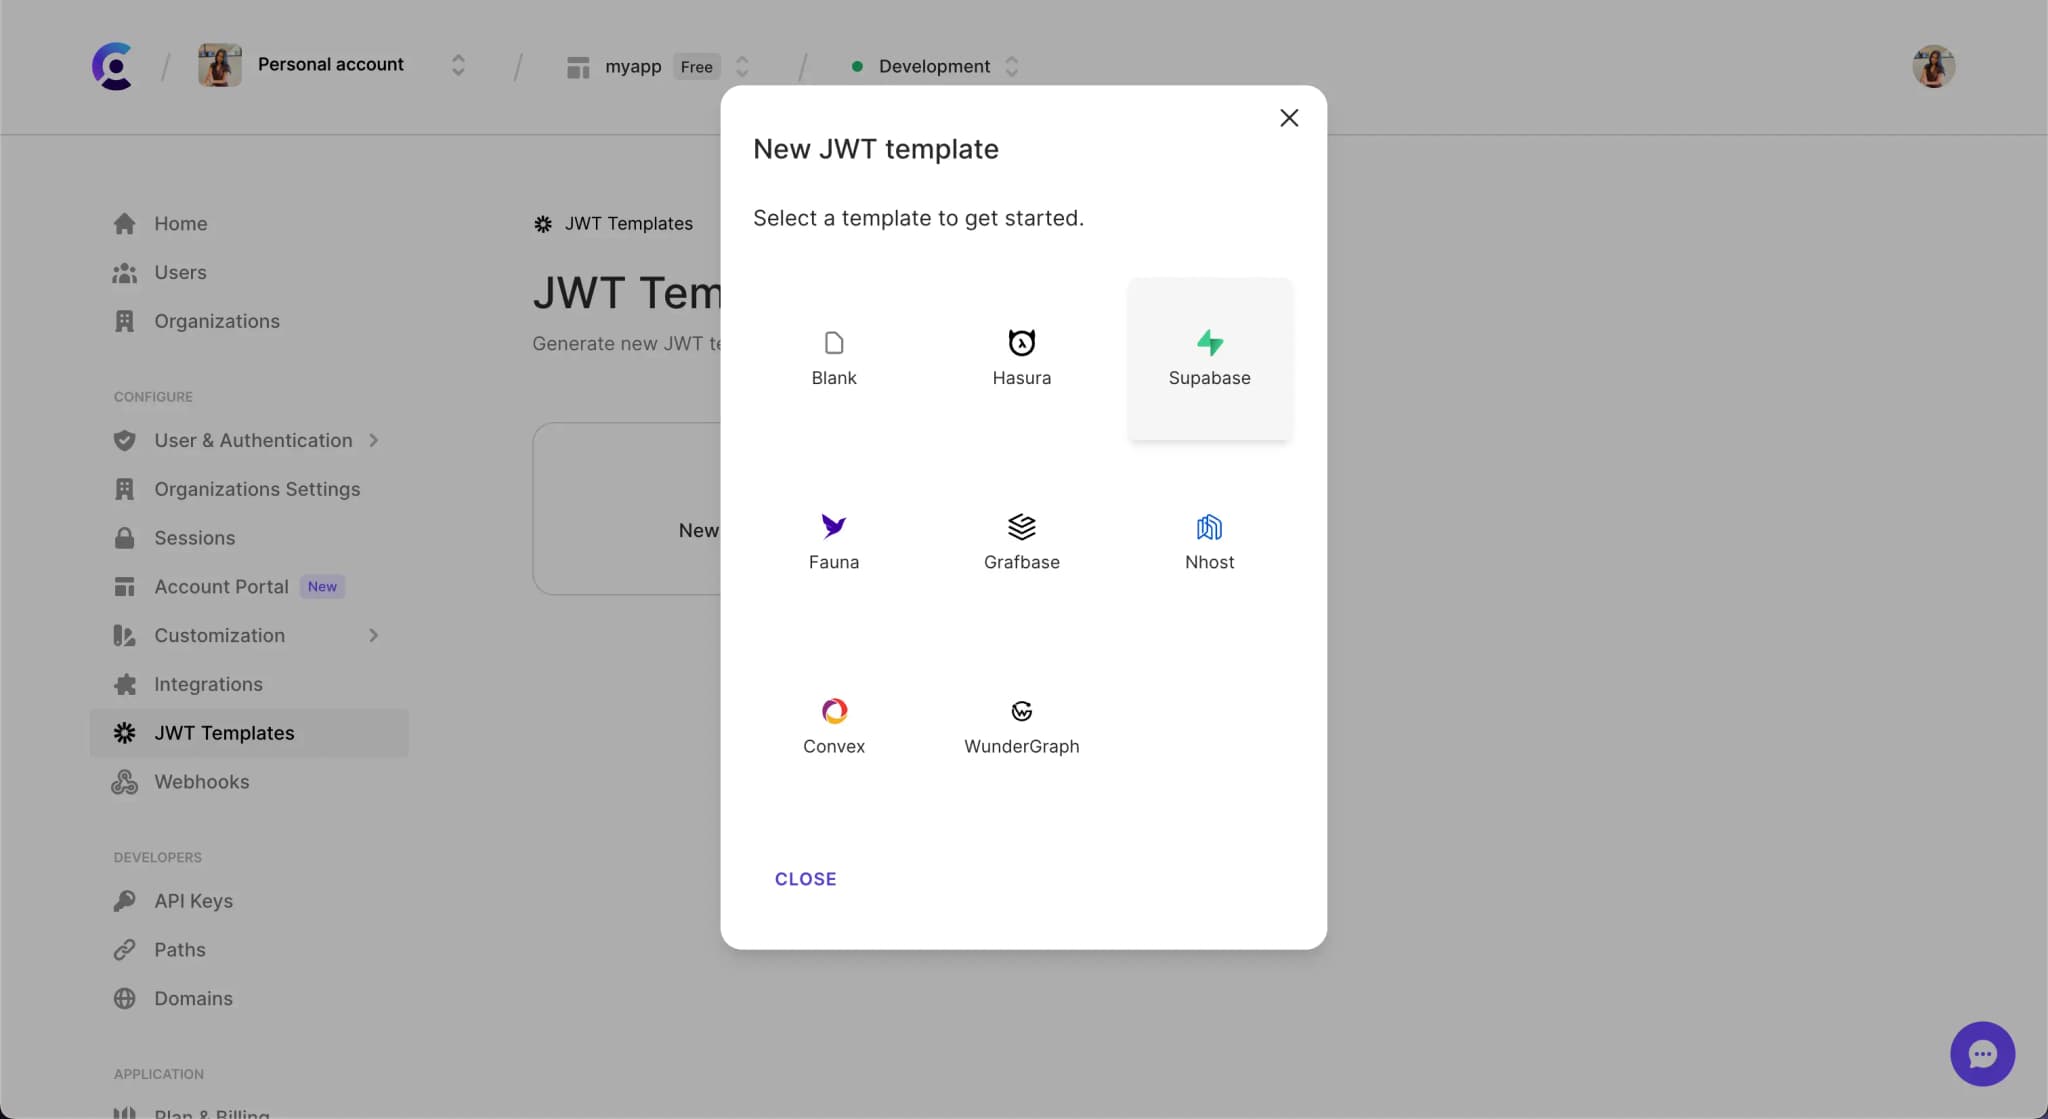
Once the Supabase template is created, you will be redirected to the template's page. You can now configure the template to your needs.

The Supabase template will pre-populate the default claims required by Supabase. You can include additional claims as necessary. Shortcodes are available to make adding dynamic user values easy.

Supabase requires that JWTs be signed with the H256 signing algorithm and use their signing key. You can locate the JWT secret key in your Supabase project under Settings --> API in the Config section.

Reveal the JWT secret to copy it and then paste it in the Signing key field in the Clerk JWT template. After the key is added, you can click the Apply Changes button to save your template.

Configure your client
To configure your client, you need to set some local environment variables. Assuming a React application, set the following:
.env.localNEXT_PUBLIC_CLERK_PUBLISHABLE_KEY=pk_test_aGFuZHktZ251LTIwLmNsZXJrLmFjY291bnRzLmRldiQ NEXT_PUBLIC_SUPABASE_URL=your-supabase-url NEXT_PUBLIC_SUPABASE_KEY=your-supabase-anon-key
You can find your Frontend API value in the Clerk Dashboard on the API keys page. It will be the Publishable key.

To get the ones needed for Supabase, navigate to the same Settings > API page as before and locate the anon public key and URL.

Note: Supabase recommends enabling Row Level Security (RLS) for your database tables and configuring access policies as needed.
After setting those three environment variables, you should be able to start up your application development server.
Install the JavaScript client for Supabase with:
terminalnpm install @supabase/supabase-js
You can then initialize the Supabase client by passing it the environment variables and the access token from Clerk.
import { useAuth } from '@clerk/clerk-react';
import { createClient } from "@supabase/supabase-js";

const supabaseClient = async (supabaseAccessToken) => {
    const supabase = createClient(process.env.NEXT_PUBLIC_SUPABASE_URL, process.env.NEXT_PUBLIC_SUPABASE_KEY, {
      global: { headers: { Authorization: `Bearer ${supabaseAccessToken}` } },
    });
    // set Supabase JWT on the client object,
    // so it is sent up with all Supabase requests
    return supabase;
  };

function App() {
  const { getToken } = useAuth();

  const fetchData = async () => {
    // TODO #1: Replace with your JWT template name
    const supabaseAccessToken = await getToken({ template: 'supabase' });

    const supabase = await supabaseClient(supabaseAccessToken);

    // TODO #2: Replace with your database table name

    const { data, error } = await supabase.from('your_table').select();

    // TODO #3: Handle the response
  };

  return (
    <div className="app">
      <button onClick={fetchData}>Fetch data</button>
    </div>
  );
}
Access user ID in RLS policies
It is common practice to need access to the user identifier on the database level, especially when working with RLS policies in Postgres. Although Supabase provides a special function auth.uid() to extract the user ID from the JWT, this does not currently work with Clerk. The workaround is to write a custom SQL function to read the sub property from the JWT claims.
In the SQL Editor section of the Supabase dashboard, click New Query and enter the following:
create or replace function requesting_user_id()
returns text
language sql stable
as $$
  select nullif(current_setting('request.jwt.claims', true)::json->>'sub', '')::text;
$$;
This will create a requesting_user_id() function that can be used within an RLS policy.
For example, this policy would check that the user making the request is authenticated and matches the user_id column of a todos table.
CREATE POLICY "Authenticated users can update their own todos"
	ON public.todos FOR UPDATE USING (
		auth.role() = 'authenticated'::text
	) WITH CHECK (
		requesting_user_id() = user_id
	);
Next steps
- Get started with our official clerk-supabase-starter repo
- Check out our Next.js + Supabase + Clerk tutorial
- Try adding some custom claims to the JWT template in
app_metadataoruser_metadata